Three curves were created in rhino and were then lofted in GH.
A bounding box was then linked to the loft and Brep Wireframe created the wireframe of the shape.
The shape was then divided by 10 in both the X and Y directions.
The end points of each direction were culled as they are not needed in the waffling model.
The points were then linked to YZ and XZ planes.
The Brep planes created were then offset by the intended slice width and then a surface was created between each offset line.
These surfaces were then extruded by the intended material thickness in the X and Y directions
The intersection points of the X and Y slices were established using the Curve intersection, cross referenced with the Brep planes from earlier.
A sublist was created to find the domain of the model.
Problem encountered: The Sublist created 1920 items instead of the 81 that were required and caused problems later on. It later was established that the sublist was an unnecessary step and was removed.
Boxes (width of material thickness) were then created at every intersection point (linked to the X and Y planes) and were moved up or down the intersecting points of the slices according to which planes they were on (eg. boxes going in the X plane were moved down and boxes in the Y plane were moved up) .
Once the position of the boxes were established, they were subtracted from the extruded slices using Solid Difference to create the slots.
This worked perfectly for the X plane but problems were encountered in the Y planes (due to the sublist running 1920 boxes instead of 81 which meant overlapping of boxes). When Solid Difference was used to subtract the boxes in the Y plane only half seemed to work. This was solved by removing the sublist and connecting the Box node directly to the intersection point.

Brep planes were then created from the solid difference and then oriented them to be ready for lasercutting.
The lines were then baked and exported to illustrator.
Final Script:
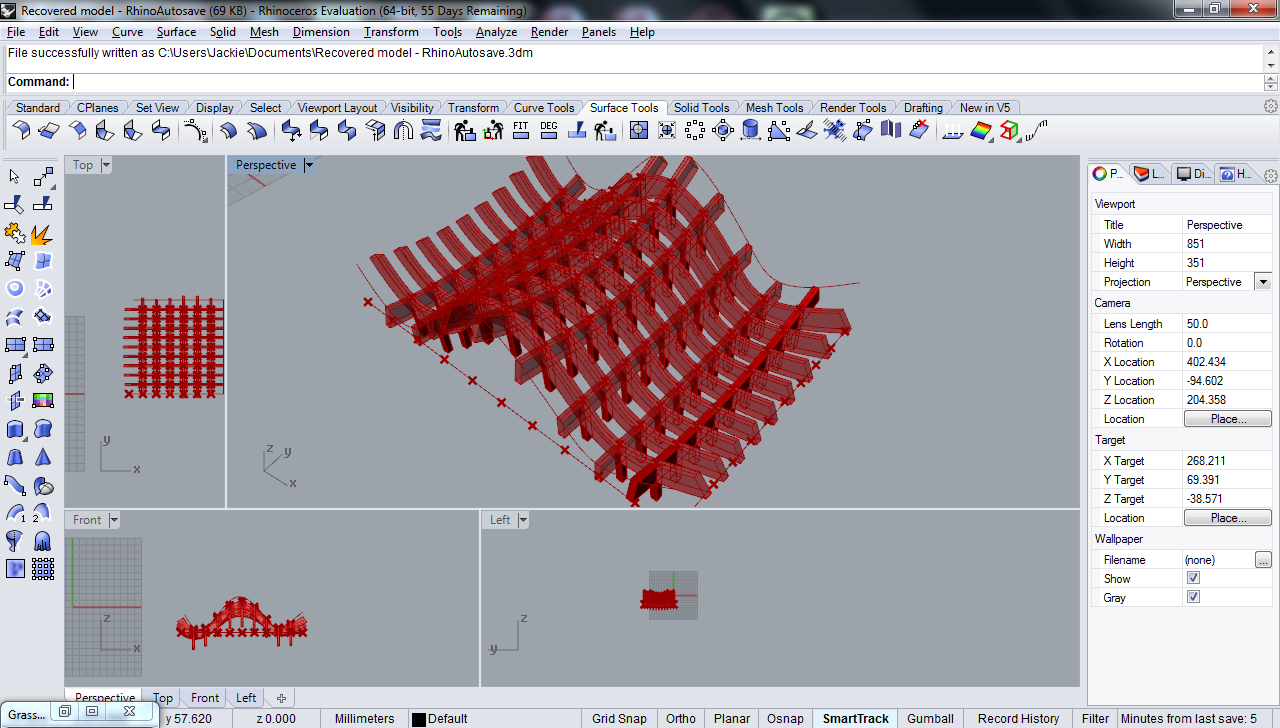
Waffling model